How to turn the G4 HydroTap off and on, before and after a holiday
To Turn OFF
Step 1: Turn the water off at the supply to the G4 Command Centre.
Step 2: Depress each lever on the HydroTap three or four times until the water stops. This will empty the tanks.
Step 3 [Commercial model]: Turn off power supply at the power point.
Step 3 [Residential model]: Turn off power supply using the power switch on the back right hand side of the Command Centre or the power point .
To Turn ON – HydroTap Boiling|Chilled
Turn on water supply at supply point. Turn on power supply at power point. Note: any programmed times will be retained via the battery backup and will not need to be re-set.
Zenith also recommends you flush the tanks out once they have refilled. Wait till the lights on the tap have stopped flashing and Depress each lever on the HydroTap three or four times until the water stops. Let the HydroTap refill.
To Turn ON – HydroTap Boiling|Chilled|Sparkling
Step 1: Turn on water supply at supply point. Turn on power supply at power point. Note: any programmed times will be retained via the battery backup and will not need to be re-set.
Step 2: On the LCD screen, press [MENU] then [Install].
Zenith also recommends you flush the tanks out once they have refilled. Wait till the lights on the tap have stopped flashing and Depress each lever on the HydroTap three or four times until the water stops. Let the HydroTap refill.

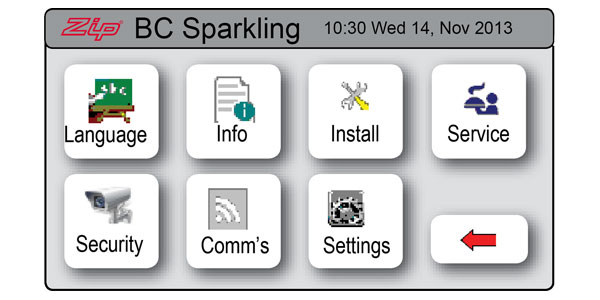
Step 3: Select [Purge CO2].
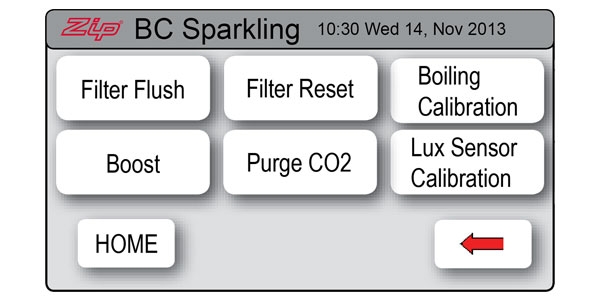
Step 4: Select [Co2 Purge START]. This will push Co2 and water through the HydroTap’s system.
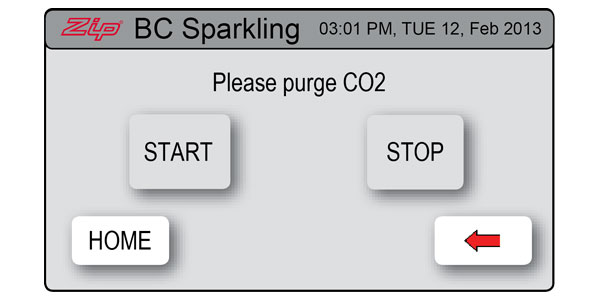
Step 5: Let the Co2 flow until the water has finished and only Co2 is being dispensed from the tap. Leave the Co2 flowing for 5-10 seconds longer then press [Co2 Purge STOP] on the LCD screen.
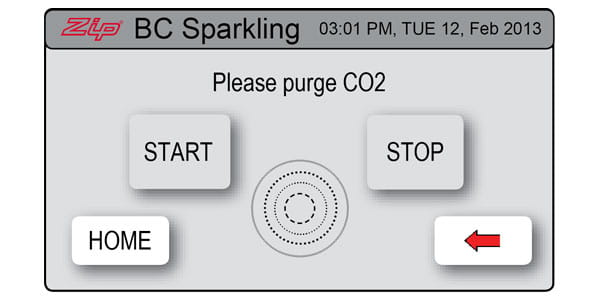
Step 6: Exit by selecting the home screen.


